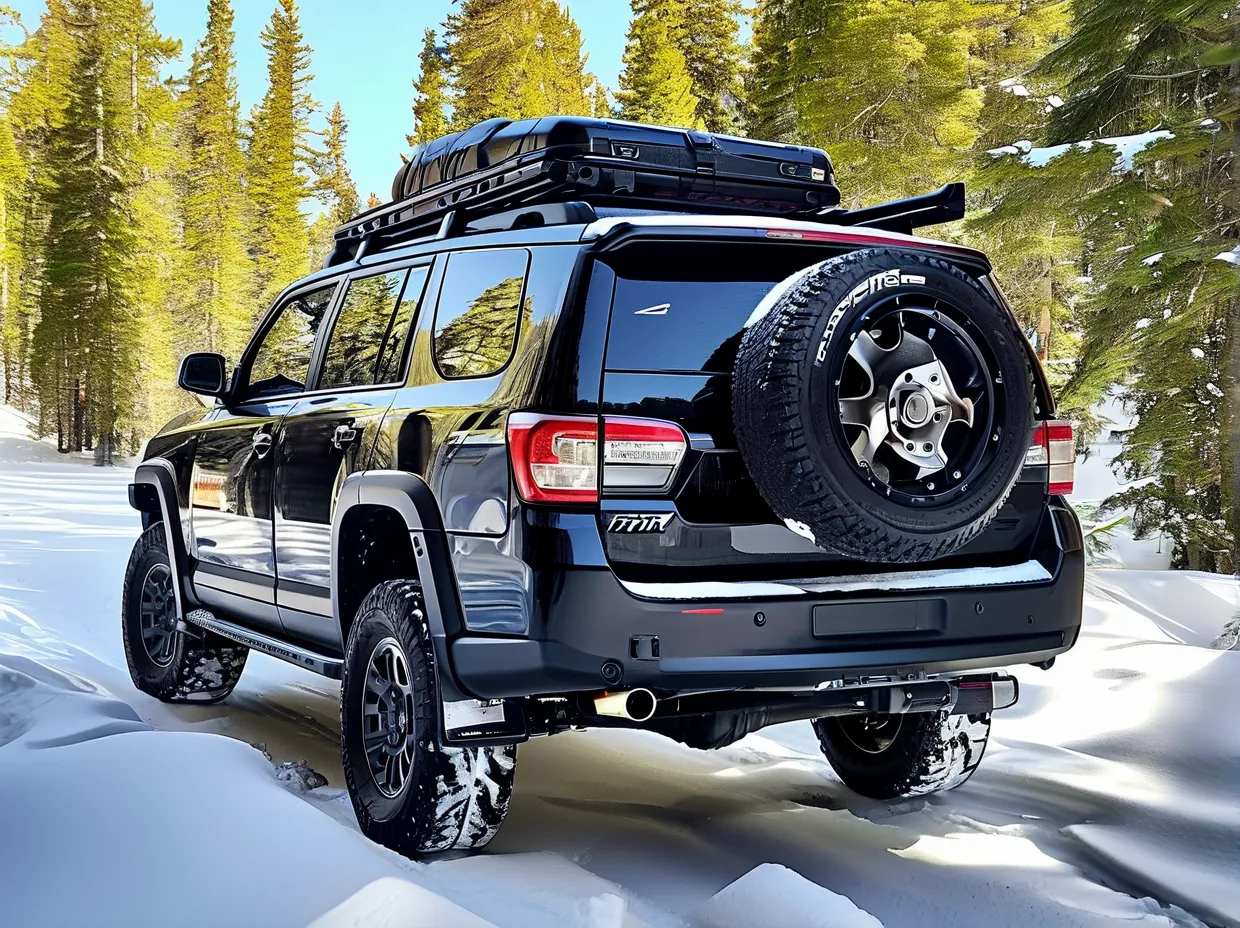
Driving to the slopes with skis or snowboards requires reliable gear transport, and a heavy-duty SUV ski rack is essential for safe, hassle-free adventures. However, selecting the wrong system can lead to damaged equipment, roof stress, or even road hazards. Let’s break down how to choose and install the right rack while avoiding common pitfalls.
Why Your SUV Needs a Heavy-Duty Ski Rack
SUVs face unique challenges when transporting winter sports gear:
– Weight distribution: The average snowboard weighs 5-8 lbs, while skis range from 10-15 lbs per pair. Carrying 4+ sets? You’re adding 40-60 lbs to your roof.
– Aerodynamic stress: At highway speeds, improperly secured racks create drag, reducing fuel efficiency by up to 25% (U.S. Department of Energy data).
– Weather resistance: Heavy-duty models withstand -22°F to 120°F temperatures, critical for mountain climates (Thule Institute testing).
Key Features to Look for in a Heavy-Duty Rack
1. Load Capacity & Durability
Prioritize racks with:
– Tested weight limits exceeding your needs (aim for 75-150 lbs capacity).
– Aerospace-grade aluminum or powder-coated steel frames (avoid plastic clamps).
– Locking mechanisms with ISO 11486 certification for anti-theft protection.
2. Vehicle Compatibility
Check:
– Factory roof rails: Measure crossbar spacing (most SUVs require 24″-36″ between bars).
– Door clearance: Some clamp-on systems interfere with hatchbacks (test with a cardboard mockup).
– Manufacturer fit guides: Yakima and Rhino-Rack offer online tools matching racks to your SUV model.
3. Ease of Installation
Look for:
– Tool-free adjustments (knobs > hex keys).
– Pre-assembled components (saves 15-30 minutes setup time).
– Clear torque specs (most SUVs require 5-7 Nm for clamp screws).
Step-by-Step Installation Guide (With Pro Tips)
Tools Needed:
- Torque wrench (critical for avoiding over-tightening)
- Silicone lubricant for rubber seals
- Leveling app (e.g., Bubble Level)
Step 1: Prep Your Roof
Clean crossbars with isopropyl alcohol to remove debris. Apply UV protectant if using rubberized mounts.
Step 2: Position the Rack
– Align racks 6-8″ from roof edges to minimize wind noise.
– Use painter’s tape to mark ideal positions before clamping.
Step 3: Secure Mounting Hardware
– Tighten bolts in a star pattern (like changing a tire) for even pressure.
– Confirm torque settings using the manufacturer’s chart (e.g., Thule recommends 5.5 Nm for most SUVs).
Step 4: Load Test
Add 125% of your typical gear weight and drive at 40 mph on empty roads. Check for movement or unusual noises.
Maintenance Mistakes That Void Warranties
- Ignoring seasonal adjustments: Temperature changes affect metal contraction—re-torque every 3 months.
- Using WD-40 on locks: It attracts dirt; opt for graphite lubricant instead.
- Pressure washing: High jets force water into bearings—hand wash with mild soap only.
Top Brands Backed by Crash Testing
- Thule Motion XT: Holds ASTM F1174 certification for impact resistance (up to 75 mph simulated winds).
- Yakima FatCat EVO 6: Rated for 120 lbs with integrated locks meeting Sold Secure Gold standards.
- Rhino-Rack Vortex: Features double-walled extrusion tested at 330 lbs static load.
FAQ: Solving Real User Problems
Q: Will a ski rack block my sunroof?
A: Measure open sunroof height vs rack clearance. Most racks need 4″+ space—consider rear-mounted systems like Kuat Pivot if space is tight.
Q: How to prevent skis from rattling?
A: Use foam pipe insulation ($5 at hardware stores) on edges, or upgrade to racks with felt-lined channels.
Q: Are universal racks safe for luxury SUVs?
A: Avoid—BMW/Mercedes roofs often use unique aluminum alloys requiring model-specific mounts.
By prioritizing certified load ratings, precision installation, and proactive maintenance, you’ll transform your SUV into a winter-ready gear hauler that lasts through seasons of epic mountain runs. Always consult your vehicle manual and rack manufacturer guidelines—when in doubt, professional installation costs $75-$150 and guarantees compliance with insurance requirements.