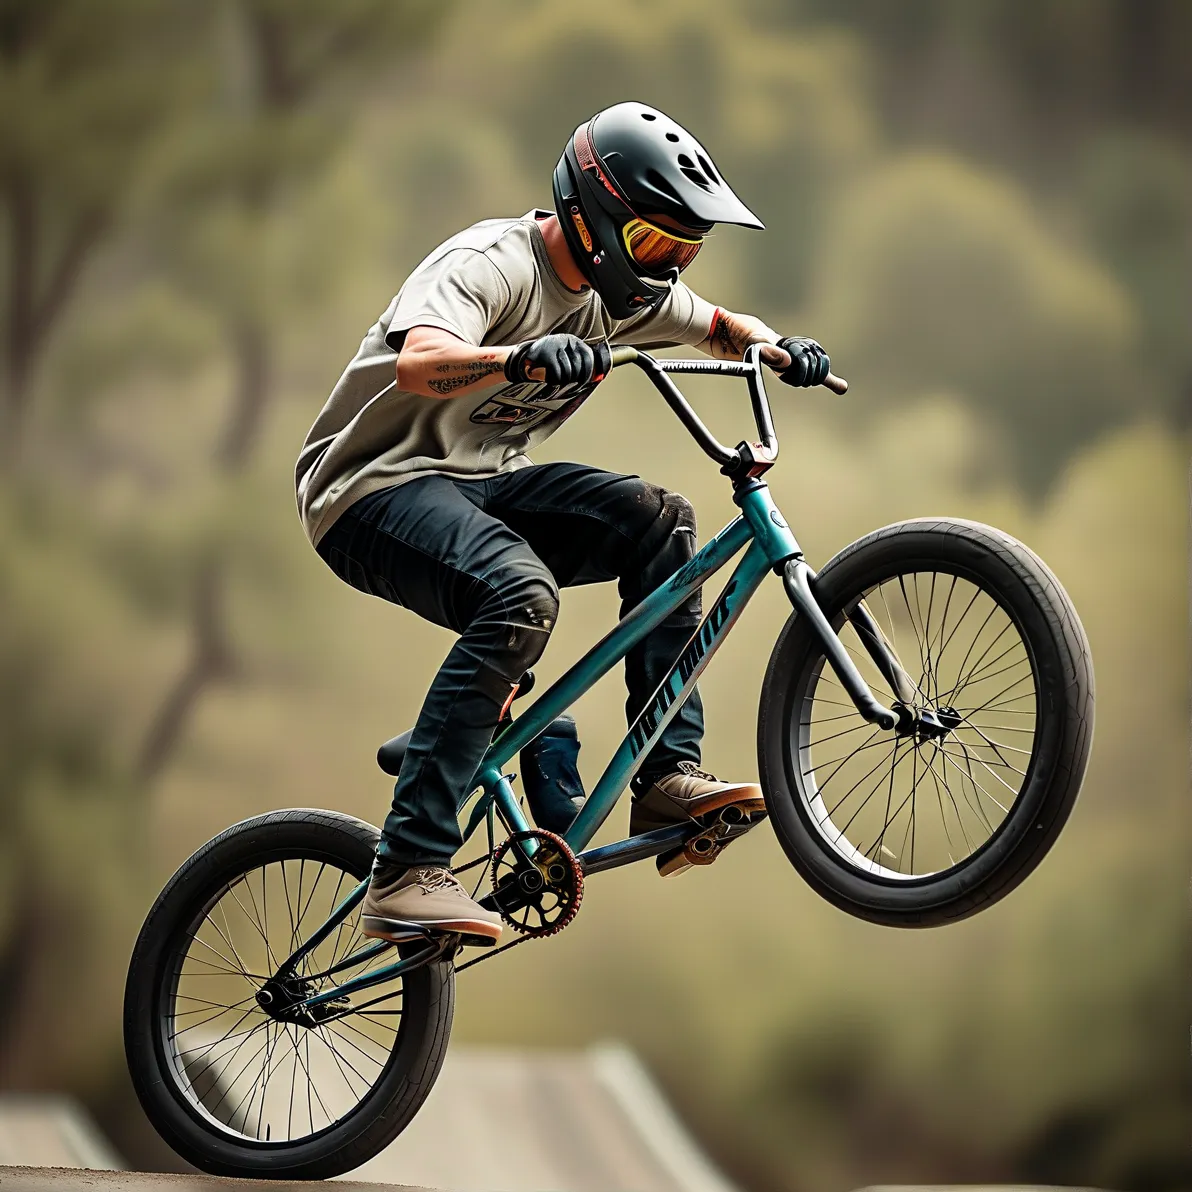
Getting the right BMX bike fit is critical for mastering stunts, grinding rails, or cruising street courses. Unlike traditional bikes, BMXs demand a hyper-personalized setup that balances control, durability, and maneuverability. Whether you’re a beginner or a seasoned rider, this guide breaks down the science of BMX geometry and customization to help you maximize performance while minimizing injury risks.
Why BMX Frame Sizes Matter More Than You Think
BMX frames are measured by their top tube length (the horizontal bar between seat post and handlebars). Professional riders and biomechanics studies emphasize that proper top tube length is foundational:
– Street/Rail Focus: 20.5″–21″ offers agility for quick rotations and grinds (source: USA BMX).
– Park/Stunt Focus: 20.75″–21.25″ provides stability during aerial tricks.
A 2022 study in Sports Engineering Journal found that riders using correctly sized frames reduced wrist/shoulder strain by 34% compared to ill-fitting setups.
Handlebars: Width, Rise, and Backsweep Explained
Your handlebar setup dictates control over spins, manuals, and landings:
1. Width: 28″–30″ accommodates most riders (narrower = quicker spins; wider = better leverage).
2. Rise: 8″–9.5″ rise maintains an upright posture for balance-intensive tricks.
3. Backsweep Angle: 2°–5° reduces wrist fatigue during prolonged sessions (recommended by pro rider Chad Kerley in Dig BMX interviews).
Cranks and Bottom Bracket Height: The Power Connection
Crank length impacts pedaling efficiency when ramping into jumps:
– Short Cranks (160–165mm): Lower center of gravity for tech street riding.
– Longer Cranks (170–175mm): Better torque for pumping through transitions.
Bottom brackets sit higher on modern BMXs (11.5″–12″) to prevent pedal strikes during grinds or tight turns.
Tires and PSI: Traction vs Impact Absorption
- Street Tires: Opt for harder compounds (60A–70A) with lower tread to slide smoothly on concrete. Run 65–85 PSI for speed.
- Park/Dirt Tires: Softer rubber (40A–50A) and higher knobs improve grip on ramps or loose terrain—keep PSI between 45–60 for shock absorption.
Fine-Tuning Your Fit: Adjustments Riders Often Overlook
- Seat Post Positioning: Keep seats low (<4” above frame) unless doing seated tricks—prioritizes standing maneuverability.
- Brake Lever Angle: Align levers parallel to grips to prevent hand slippage during hard stops (supported by OSHA ergonomic guidelines).
A pro tip from Dave Mirra’s autobiography: “Test adjustments incrementally—even a 5mm change in handlebar roll can transform how your bike responds.”
When to Upgrade Components vs Buying New
Worn pegs or a bent frame? Analyze cost-benefit ratios using this rule: If repairs exceed 40% of a new bike’s price ($400+), consider upgrading strategically—e.g., chromoly frames last 3x longer than hi-tensile steel under impact (BMX Museum data).
Key Takeaways for Your Perfect Setup
- Prioritize frame size before component tweaks—it’s the backbone of your fit.
- Match crank length and tire PSI to your dominant riding style (street, park, dirt).
- Document adjustments in a ride journal; minor changes compound into major gains over weeks.
Customizing your BMX isn’t about chasing trends—it’s engineering a responsive machine that adapts to your body mechanics. Invest time in testing setups at local skateparks or pump tracks before finalizing configurations. When in doubt, consult certified BMX fitters at reputable shops like The House or Source BMX for tailored advice backed by real-world testing data.